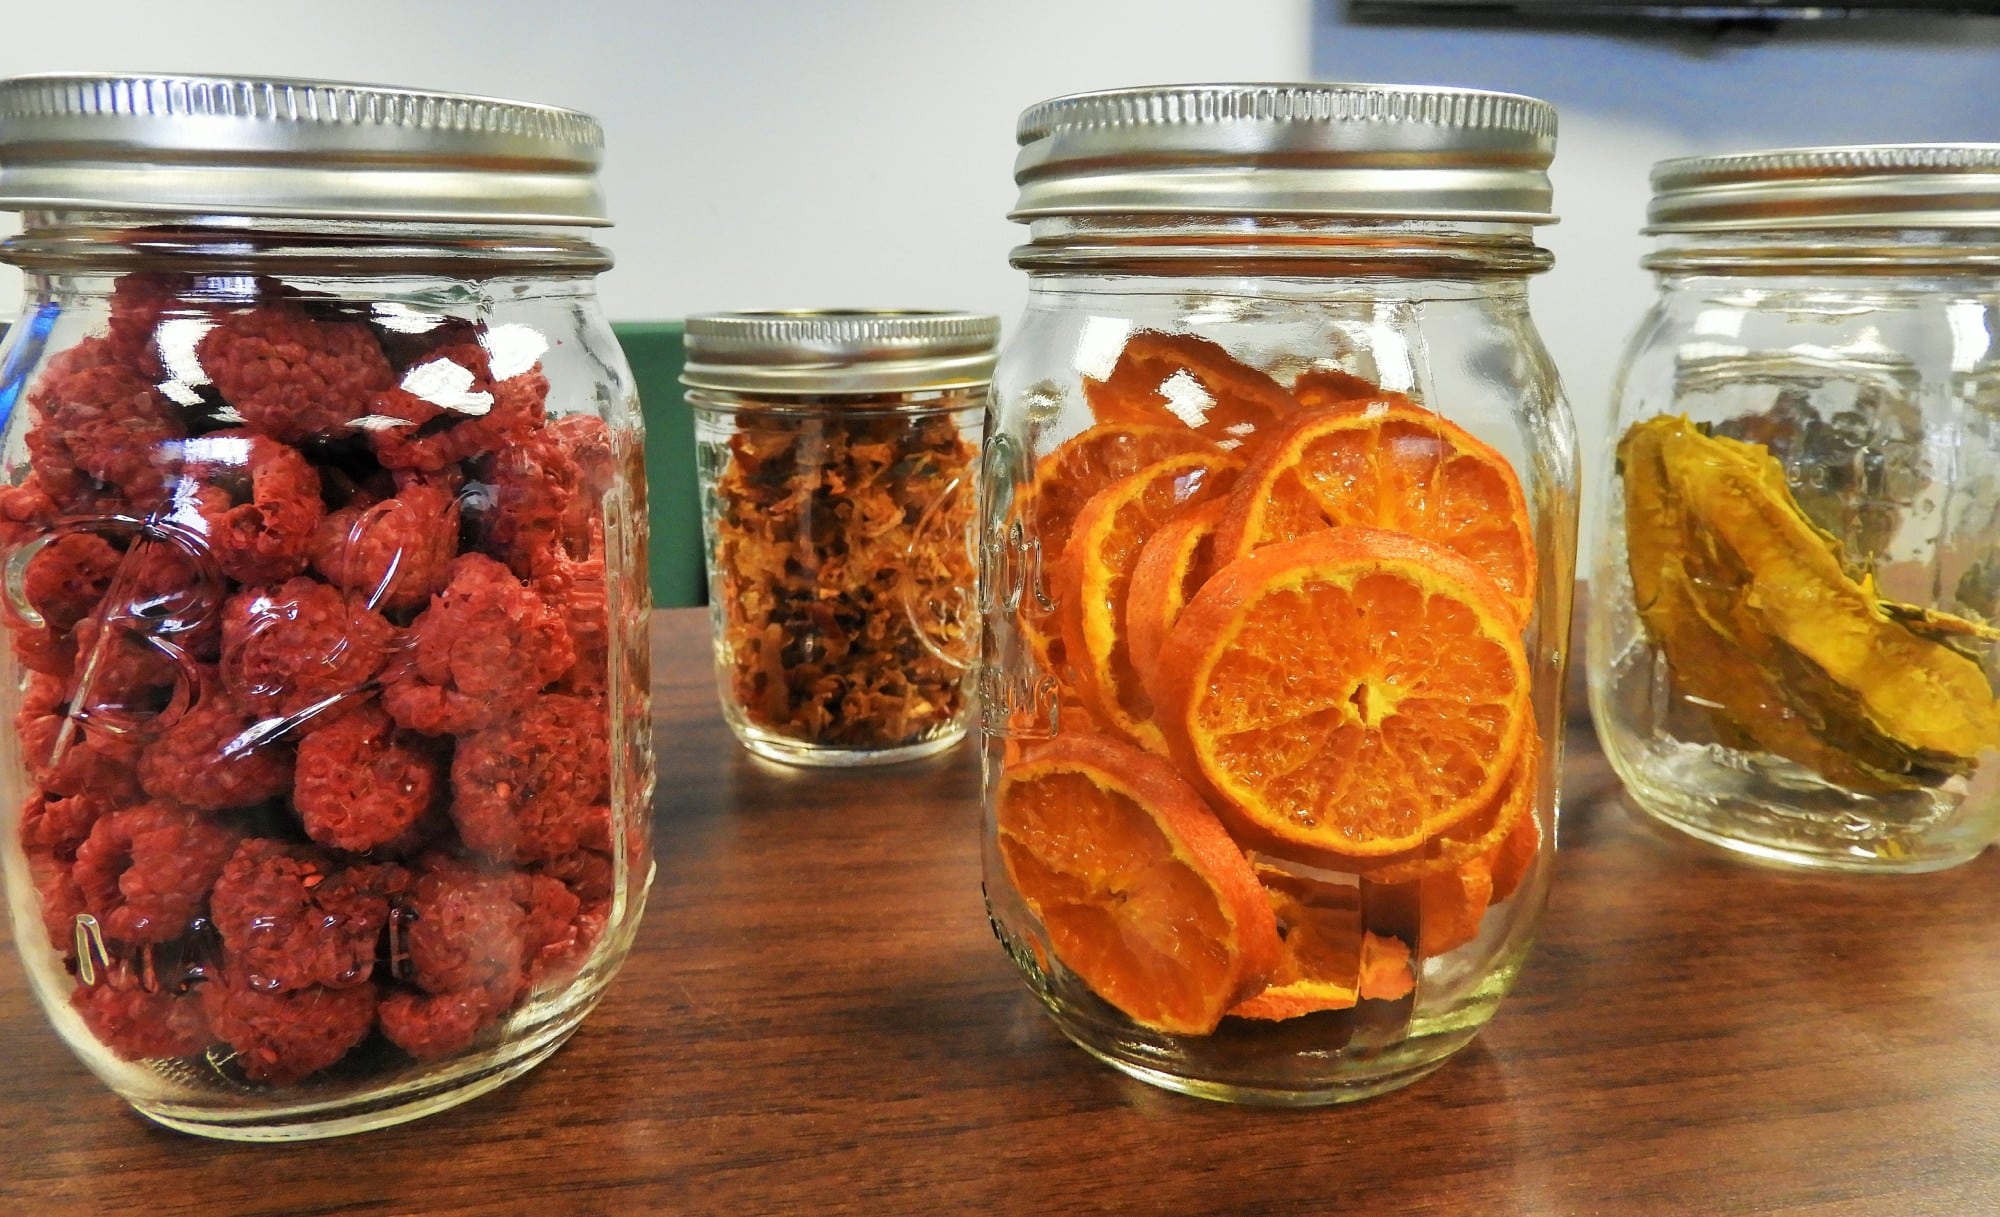
When you walk into your pantry, do you feel overwhelmed? Are things falling off shelves? Is there expired food lurking in the back corners?
What if we told you that could all be a thing of the past? Your pantry could become a well-organized, beautiful space. You can feel good every time you open your pantry door.
Today, we are going to teach you how to organize your pantry. An organized pantry can make meal prep and cooking so much easier and will help you keep on top of your grocery shopping, too.
Keep reading for step-by-step pantry organization, from start to finish.
Step 1: Take Everything Out
Getting organized starts with removing every single item from your pantry. This may sound overwhelming, but it’s key to seeing the full space you have to work with. It also gives you a sense of how much food and kitchen things you need to put back into your pantry.
Remove everything one by one. Check expiration dates on each item and throw out anything that’s expired.
If you’re looking for someone to tell you to throw out that food no one liked that you have 3 more packs of, we’re giving you permission right now.
That’s right! Toss anything your family never touches and has been sitting around for months (or more). It’s only taking up precious pantry space that you need.
Step 2: Start Sorting
Once you’ve taken everything out, you can start sorting. Divide piles up by putting like items together. An easy way to start is putting dry goods together, like pasta and rice, then canned goods together.
Once you’ve gotten your broad categories broken up, you can get more specific. Put the same types of pasta together. Sort your cans of beans and vegetables.
Another option at this point is to group items together based on the meal they’re for. For example, put pasta and tomato sauce together or your taco shells, beans, and salsa together.
Sort in a way that makes the most sense to you. The goal is to have a pantry that works for you and your family.
We’ll bet at this point, your pile of pantry items feels a whole lot less overwhelming. You’re on your way to a beautiful, organized pantry!
Step 3: Gather Supplies to Organize
Before you go shopping for baskets and bins, consider your shopping habits and what you normally keep in stock in your pantry. The type, number, and size of supplies you need will depend on your pantry habits.
Consider whether there are certain things you always have a lot of or prefer to buy in bulk, and get large bins to keep these things together.
If you chose to sort your items by meal, then find storage containers that can keep those items contained to make meal prep easy.
You’ll also want to measure your pantry shelf space carefully so that everything you buy will fit nicely on the shelves.
Once you’ve taken these steps to prepare, you can go to the store or order organizational bins and baskets online. There are tons of stores that carry lines of matching baskets or containers that work together nicely. It can be great to buy everything from one store so that everything matches and fits together well.
Step 4: Put It All Away and Label Everything
Now that your containers are organized, you can place them in your pantry wherever is most convenient to you. Conventional wisdom will tell you to put dry foods in one spot, canned goods in another, and baking supplies somewhere else. But you don’t need to follow any particular “rules.”
Instead, think about what will work best for you and your family. Remember, the goal of pantry organization here is for your pantry to make your life simpler and create a stress-free space.
In that spirit, place your organized baskets and bins wherever you think will be best for your day-to-day life.
You may want a shelf dedicated to meal prep, while another is filled with backstock and kitchen cleaning supplies. For families with young kids, a lower shelf filled with snacks is perfect. This keeps your children’s favorite foods in easy reach for them, so they can grab snacks themselves.
One of the biggest pantry organization trends right now is labeling everything. This is especially useful if you’re using baskets and bins that aren’t see-through.
You can buy labels that are pre-made, with a font that labels common pantry items. Some brands also allow you to customize pre-printed labels. Another option is buying empty labels and hand-writing labels for each bin. One last option is investing in a label maker or sticker paper to print labels yourself.
Why You Need to Know How to Organize Your Pantry
You may have seen the pantry organization trends popping up all over social media lately. From clear plastic bins to pretty labels, there’s more to it than just a nice-looking space.
The real reason why you should organize your pantry? It will simplify your everyday life. An organized pantry means easier meal prepping and knowing exactly what you need for your weekly grocery store trip. Organizing your pantry will help keep the rest of your life organized, too!
Plus, using nice containers to keep your pantry organized will also make it pleasant to look at. Who doesn’t love that?
Enjoy Your Beautiful, Organized Pantry
We hope this pantry organization guide for beginners helps you create a great-looking pantry space that works for you. Now that you know how to organize your pantry, you can get started on customizing your pantry for you and your family.
Once your pantry is organized and labeled, organize the rest of your home too! If you’re interested in professional organization or cleaning services for your home, contact us today.

